
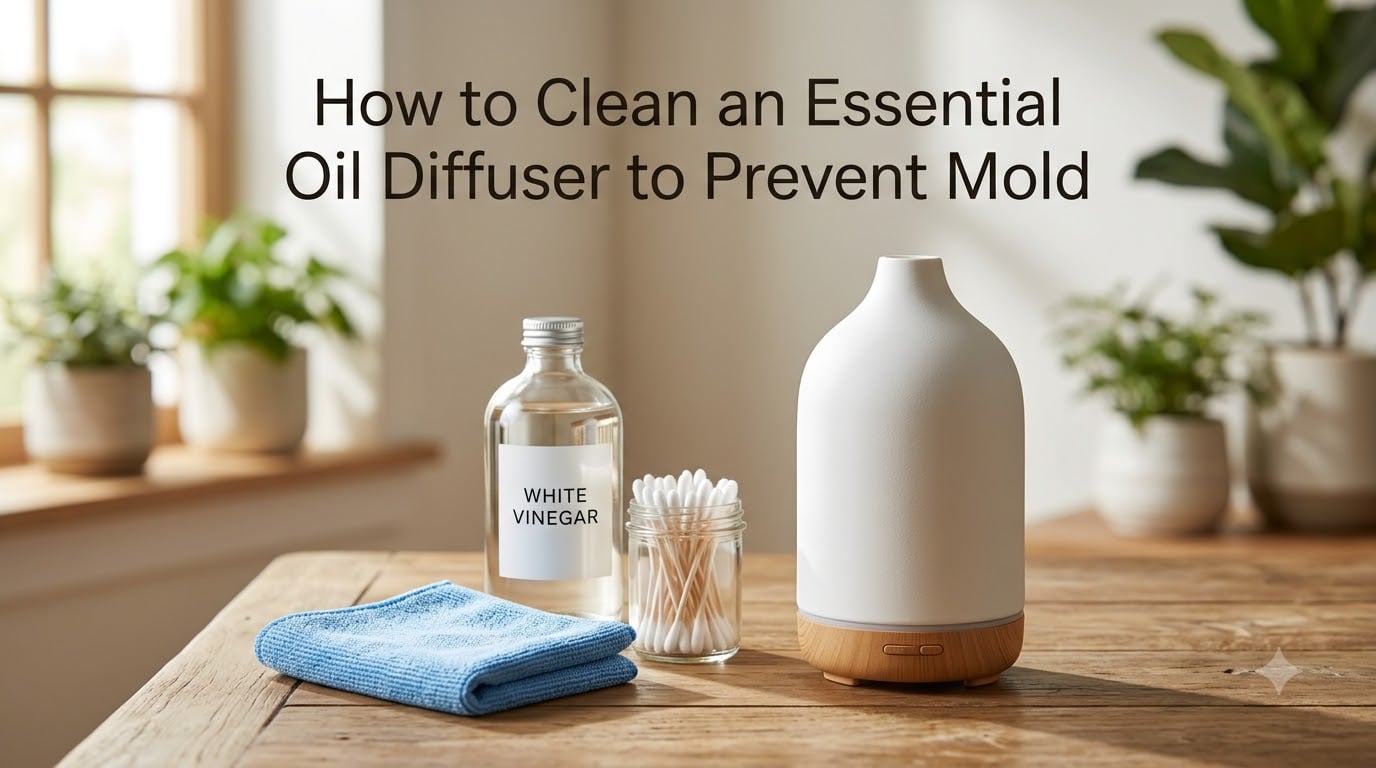
I used to run my essential oil diffuser every single night and never gave cleaning a second thought. Then one morning, I noticed a dark ring around the water line and a musty smell I couldn’t shake. That’s when I learned that skipping routine cleaning turns any aromatherapy device into a breeding ground for mold and bacteria.
This guide walks you through exactly how to clean an essential oil diffuser to prevent mold — from a quick daily rinse to a deep weekly vinegar cycle. You’ll learn what works, what to avoid, and the specific steps I use to keep my diffuser running like new.
Table of Contents
Why Mold Grows in Essential Oil Diffusers (and Why It Matters)
Mold thrives in warm, damp, nutrient-rich environments. Your diffuser’s water tank is essentially a perfect incubator — standing water, trace essential oil residue, and room-temperature conditions all work together to encourage bacterial and fungal growth.
When you add oils to the tank, they don’t all get dispersed into the air. Tiny amounts stick to the sides, mix with water, and create a film. Over days, that film becomes food for mold spores floating in your air. A Reddit user in r/essentialoils described discovering a “greenish ring” in their unit after three months of neglecting regular cleaning.
The health risks are real. Running a contaminated diffuser releases mold spores and bacteria into the air you breathe. People with allergies, asthma, or sensitivities can experience coughing, congestion, throat irritation, or headaches. Some essential oils do have antimicrobial properties, but those properties don’t sanitize the water tank itself.
Dirty diffusers also stop working properly. Oil residue clogs the ultrasonic plate (also called the mist chip or ceramic disc), weakens output, and shortens the lifespan of the unit. A five-minute cleaning routine prevents all of this.
What You’ll Need to Clean Your Diffuser
You probably already have everything needed. Here’s the simple supply list:
Distilled white vinegar (5% acidity — standard grocery store strength)
70% rubbing alcohol (isopropyl)
Soft-bristled brush (a bottle brush or old toothbrush works well)
Cotton swabs for the mist chip area
Microfiber cloth or lint-free paper towels
Mild dish soap (optional, for greasy oil residue)
Distilled water (optional, but reduces mineral buildup long-term)
Avoid bleach, abrasive sponges, and any chemical cleaner not designed for plastic electronics. These can etch the tank, damage internal components, and leave residues you definitely don’t want vaporized into your air.
Daily Cleaning: The 2-Minute After-Use Method
Quick daily maintenance takes under two minutes and is the single most effective way to prevent mold. Do this every time you finish running your diffuser for the day.
Step 1: Unplug and Empty the Tank
Always unplug the unit first. Pour out any remaining water from the tank through the designated pour spout, not over the electronics side. Tilt the unit gently to avoid water dripping into the motor housing.
Step 2: Wipe the Interior with a Soft Cloth
Use a microfiber cloth or lint-free paper towel to wipe down the inside of the water tank. Pay special attention to the water line where oil residue collects. Don’t press hard on the mist chip at the bottom center.
Step 3: Clean the Mist Chip Gently
Dampen a cotton swab with water and lightly wipe around (not directly on) the ultrasonic plate. This removes oil buildup without scratching the disc. A clean mist chip means stronger mist output and fewer clogs.
Step 4: Air Dry Completely
Leave the lid off and let the tank air dry between uses. This is the step most people skip, and it’s the one that matters most for mold prevention. Moisture left in a closed tank is exactly what mold spores need to colonize.
Weekly Deep Cleaning: The Vinegar Method
Once a week, give your diffuser a proper deep clean using white vinegar. This dissolves mineral deposits, kills bacteria, and breaks down stubborn oil residue that daily wiping misses. Forum users consistently report their diffusers working like new after this method.
Step 1: Fill the Tank Halfway with Water
Use room-temperature tap water or distilled water (better if your tap water is hard). Fill to roughly the halfway mark — about 100ml for a standard 300ml diffuser.
Step 2: Add White Vinegar (10 Tablespoons)
Add approximately 10 tablespoons (about 150ml) of distilled white vinegar to the water. This gives you roughly a 60:40 water-to-vinegar ratio, which is strong enough to dissolve buildup without being so concentrated it damages seals or components.
Many users ask about the exact ratio, and here’s what works: aim for at least a 50/50 mix for weekly cleaning. For heavy buildup, go stronger on the vinegar side. If your tank is larger (500ml+), scale up the vinegar proportionally.
Step 3: Run the Diffuser for 5 to 10 Minutes
Plug in the unit and turn it on. Let it run for 5 to 10 minutes so the vinegar-water mixture circulates through the entire system and the mist chip. The ultrasonic vibrations help the vinegar break down residue clinging to surfaces you can’t reach by hand.
Step 4: Turn Off and Let It Sit
After the running cycle, turn off and unplug the unit. Let the vinegar solution sit in the tank for another 10 to 15 minutes. This gives the acid time to dissolve mineral scaling and kill bacteria on the surfaces.
Step 5: Scrub with a Soft Brush
Use a soft-bristled brush to gently scrub the interior walls and bottom of the tank. A bottle brush reaches deep corners. Use a cotton swab dipped in rubbing alcohol to clean around the mist chip — this is where the most stubborn residue collects.
Step 6: Rinse Thoroughly and Air Dry
Empty the tank and rinse it two to three times with clean water to remove all traces of vinegar. Any remaining vinegar smell will dissipate as it dries. Air dry with the lid off before your next use.
How to Remove Mold from a Diffuser (Step-by-Step)
If you’ve already spotted mold — dark spots, a slimy film, pinkish or greenish discoloration — don’t panic. Most diffusers can be saved with a more aggressive cleaning method.
Step 1: Assess the Damage First
Surface mold on the tank walls is treatable. If mold has infiltrated the motor housing, the air vent, or behind the mist chip where you can’t reach, it may be time to replace the unit. A musty smell that lingers after thorough cleaning is a sign the contamination is too deep.
Step 2: Soak with Straight Vinegar
For visible mold, skip the diluted mixture. Fill the tank with undiluted white vinegar to cover the affected area. Let it sit for 30 to 60 minutes. Vinegar kills about 82% of mold species, including many common household varieties.
Step 3: Scrub Vigorously but Carefully
After soaking, use a soft brush to scrub away the loosened mold. For the mist chip and crevices, use a cotton swab dipped in rubbing alcohol. Alcohol evaporates quickly and kills mold on contact without leaving moisture behind.
Step 4: Use Rubbing Alcohol for Stubborn Black Mold
For black mold that survives the vinegar soak, apply 70% rubbing alcohol directly. Let it sit for 15 minutes, then scrub again. Multiple Reddit users in r/CleaningTips and r/moldyinteresting report success with this combination — vinegar first, then alcohol for anything remaining.
Step 5: Rinse, Dry, and Run a Test Cycle
Rinse the tank thoroughly with clean water. Wipe dry with a microfiber cloth. Fill with plain water (no oils) and run the diffuser for 10 minutes to flush the system. If the mist smells clean and the output is strong, your diffuser is safe to use again.
How Often Should You Clean Your Essential Oil Diffuser?
Cleaning frequency depends on how often you use the unit. Here’s the routine I recommend based on testing and forum consensus:
After every use (daily): Empty water, wipe the tank, air dry. Takes two minutes and prevents 90% of mold problems.
Weekly: Full vinegar deep clean. Non-negotiable if you run your diffuser daily.
Biweekly: If you only use the diffuser 2-3 times per week, you can stretch the deep clean to every two weeks.
Monthly descaling: If you use tap water and notice white mineral deposits, run a stronger vinegar solution monthly to dissolve scale on the ultrasonic plate.
Between oil changes: Always wipe the tank when switching from one oil to another to prevent mixing scents and accumulating different oil residues.
The biggest mistake people make isn’t cleaning wrong — it’s not cleaning at all until they see mold. By then, you’re in remediation mode rather than prevention mode.
Expert Tips for Preventing Mold Before It Starts
Cleaning is one side of the equation. The other side is creating conditions where mold can’t get a foothold in the first place.
Use Distilled Water Instead of Tap Water
Tap water contains minerals that build up on the ultrasonic plate and feed bacterial growth. Distilled water eliminates this entirely and keeps your mist chip cleaner for longer. It’s a small cost that dramatically reduces maintenance.
Never Leave Standing Water Overnight
If you run your diffuser before bed, empty the tank when you wake up. Standing water sitting in a closed, dark tank for 12+ hours is an open invitation for mold. Even if you plan to use it again the next night, it’s better to empty, dry, and refill.
Store the Diffuser Dry When Not in Use
Going on vacation? Don’t leave water in the tank. Empty it, wipe it, and leave the lid off until you return. Store in a dry place away from humid areas like bathrooms.
Be Mindful of Heavy, Thick Oils
Thicker essential oils — like myrrh, sandalwood, vetiver, and some resins — leave more residue than lighter oils like citrus and lavender. If you diffuse heavy oils regularly, increase your deep cleaning frequency. Diluting with a carrier oil isn’t recommended for ultrasonic diffusers, but using fewer drops helps.
Consider Anti-Fungal Oils
Oils like thyme, clove, rosemary, and tea tree have natural antimicrobial properties. Diffusing these occasionally can help keep the tank environment less hospitable to bacteria. But this supplements cleaning — it doesn’t replace it.
Troubleshooting: When Your Diffuser Stops Working After Cleaning
This is one of the most common complaints in forums. You clean your diffuser, plug it back in, and… nothing. No mist. Here’s what to check:
Water Got Into the Motor Housing
This is the most frequent cause. If water seeped into the base during cleaning, the safety feature may prevent the unit from turning on. Unplug it, turn it upside down on a towel, and let it dry for 24 hours. Most units recover fully after drying out.
The Mist Chip Still Has Residue
If the ultrasonic plate is still coated in oil or mineral scale, the diffuser won’t produce mist. Run another vinegar cycle, then clean the chip directly with a cotton swab dipped in rubbing alcohol. Be gentle — scratching the disc permanently damages it.
The Unit Wasn’t Reassembled Correctly
Some diffusers have removable mist chip covers or rings that must be seated properly. If the lid isn’t fully aligned or the water level sensor isn’t making contact, the unit won’t run. Double-check that everything clicks into place.
You Used Too Much Water
Overfilling past the max line triggers the safety shutoff. Pour out excess water until you’re between the min and max lines. The diffuser should start normally.
Common Mistakes to Avoid When Cleaning Your Diffuser
A few cleaning habits cause more harm than good. Avoid these to keep your diffuser functional and safe:
Using bleach: Bleach is too harsh for the plastic and internal seals. It can leave toxic residues that get vaporized into your air. Use vinegar and rubbing alcohol instead.
Submerging the base: The motor housing contains electronics. Never submerge the base in water or run it under a faucet. Only clean the removable water tank.
Scrubbing the mist chip aggressively: The ultrasonic plate is delicate. Use cotton swabs and light pressure. Metal tools or stiff brushes will scratch and ruin it.
Skipping the rinse step: Leftover vinegar in the tank will affect the scent and pH of your oils. Always rinse twice with clean water after a vinegar cycle.
Using essential oils as cleaners: While some oils are antimicrobial, adding more oil to a dirty tank just creates more residue. Clean with vinegar, then start fresh.
A clean diffuser is safer, lasts longer, and performs better. The right cleaning method is gentle, consistent, and uses ingredients you already have in your pantry.
Frequently Asked Questions
Can I put vinegar in my essential oil diffuser to clean it?
Yes. White vinegar is one of the safest and most effective cleaners for essential oil diffusers. Fill the tank halfway with water, add about 10 tablespoons of distilled white vinegar, run the unit for 5 to 10 minutes, then let it sit before scrubbing and rinsing. Never use undiluted vinegar for regular cleaning — save straight vinegar for mold removal.
How often should you clean your essential oil diffuser?
Clean your diffuser daily with a quick wipe-down and air dry after each use. Do a full deep clean with white vinegar once a week if you use it daily, or every two weeks for occasional use. Monthly descaling is recommended if you use hard tap water.
What happens if you don’t clean your diffuser?
Without cleaning, mold, bacteria, and oil residue build up inside the water tank and on the ultrasonic plate. This weakens mist output, creates unpleasant odors, and releases contaminated particles into your air. It can cause respiratory irritation and significantly shorten the lifespan of the diffuser.
My diffuser isn’t working after cleaning. What can I do to fix it?
First, check if water got into the motor housing. Unplug it, turn it upside down, and let it dry for 24 hours. If the mist chip still has residue, run another vinegar cycle and clean it with a cotton swab dipped in rubbing alcohol. Also verify the unit is reassembled correctly and not overfilled.
Is it safe to breathe from a moldy diffuser?
No. Running a moldy diffuser releases mold spores and bacteria into the air you breathe. This can cause coughing, congestion, throat irritation, headaches, and allergic reactions. Clean the diffuser thoroughly with vinegar and rubbing alcohol before using it again. If the mold has penetrated the motor housing, replace the unit.
Keep Your Diffuser Clean and Your Air Safe
Learning how to clean an essential oil diffuser to prevent mold comes down to two simple habits: wipe it dry after every use, and run a vinegar cycle once a week. That’s it. Two minutes a day and ten minutes a week will keep your diffuser mold-free, your air clean, and your device running for years.
Start with the daily routine today. If you’ve never deep cleaned your current diffuser, do the weekly vinegar method tonight. You’ll notice the difference in mist output and air quality almost immediately.